Resistance and Rest
Dodi Arnold, an Outdoor Afro leader, reflects the importance of the outdoors during the volatile last year.
Given Back to Parklands.
We have a passion for the outdoors and believe it's our responsibility to promote, protect, and preserve public lands.
Our Mission
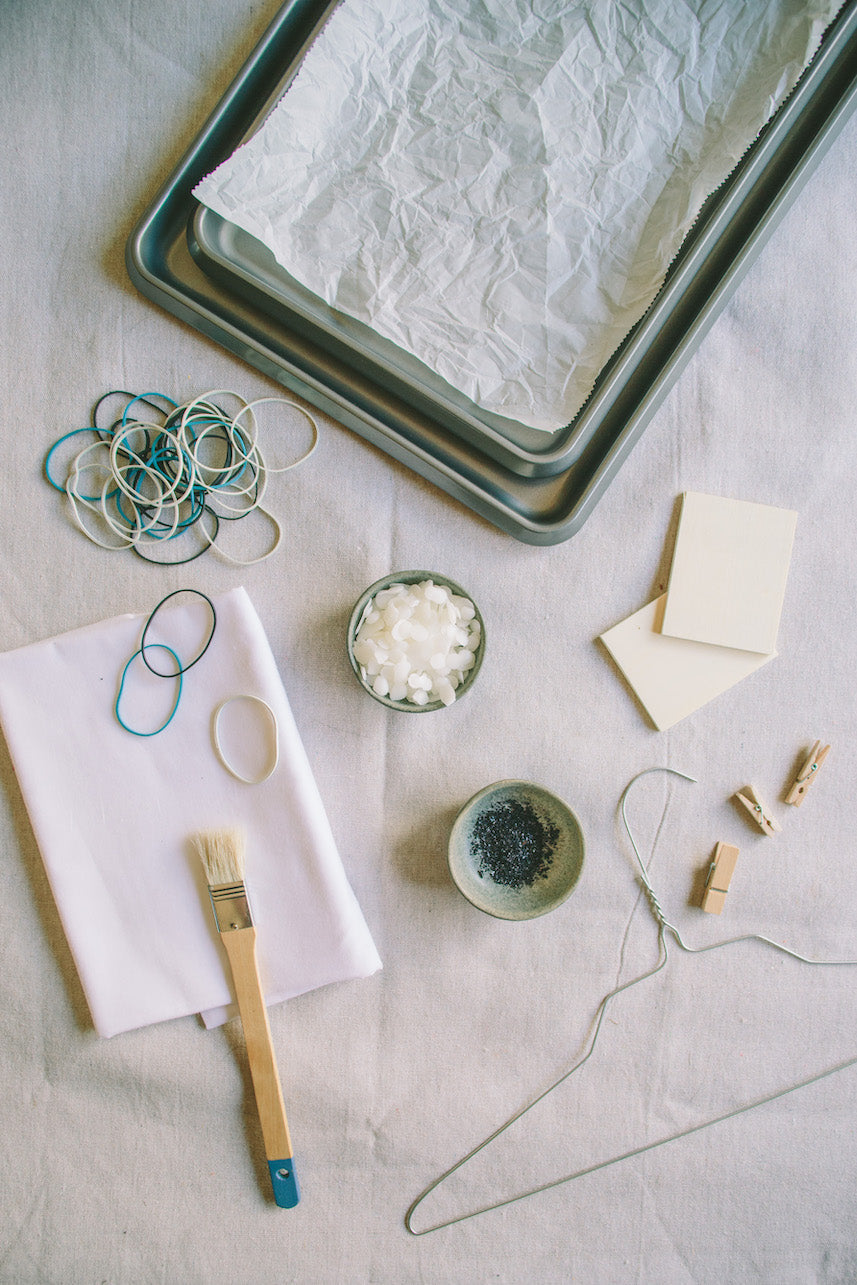
What You'll Need:
Begin by cutting the fabric into your preferred sizes. A 14" x 14" square will cover most sandwiches. A 10” x 6” rectangle for fruit + vegetables. A 22” x 16” for small loaves of bread and if you wanna get fancy 7” x 14” for snack bags. Get creative and make the most of the fabric. Note: If you have pinking shears on hand, they will help prevent your swatches from fraying, but scissors will also get the job done.
Line a baking sheet with parchment paper and place the fabric on top. If your fabric is too big for the tray, simply fold it and use extra beeswax pellets.
Place the tray in the oven for about 8 minutes - but keep an eye on it. When the pellets melt completely, take the tray out and use a paintbrush to spread the wax evenly over the entire fabric, making sure to hit all of the edges. You want to make sure to do this step quickly as the beeswax cools and hardens instantly. Note: You can also use a spoon or fork for this step, as the beeswax will stick to the brush.
Make sure to clean with cool water and let air dry. Wraps are good for 3-4 months, when I recommend washing with hot water and re-waxing! You can also throw it in the compost bin if you wish to dispose of it.